인기 검색 계정


Deanna Talerico | Homestead and Chill(@deannacat3) 인스타그램 상세 프로필 분석: 팔로워 540,236, 참여율 1.93%
@deannacat3
인증됨Deanna Talerico | Homestead and Chill
🌿 Gardening, animals, real food, natural health, DIY. Central Coast of CA ☀️♻️🌈📚💚🌎🔬 Stories are a zoo 🐈🐴🐓 💡 Blog & links ⬇️ Come learn + grow along!
https://homesteadandchill.com/insta-links/@deannacat3님과 연관된 프로필
연관 프로필이 없습니다
이 계정에 대한 연관 프로필 정보를 찾을 수 없습니다
@deannacat3 계정 통계 차트
게시물 타입 분포
시간대별 활동 분석 (최근 게시물 기준)
@deannacat3 최근 게시물 상세 분석
동영상 게시물 분석
여러 장 게시물 분석
@deannacat3 최근 게시물
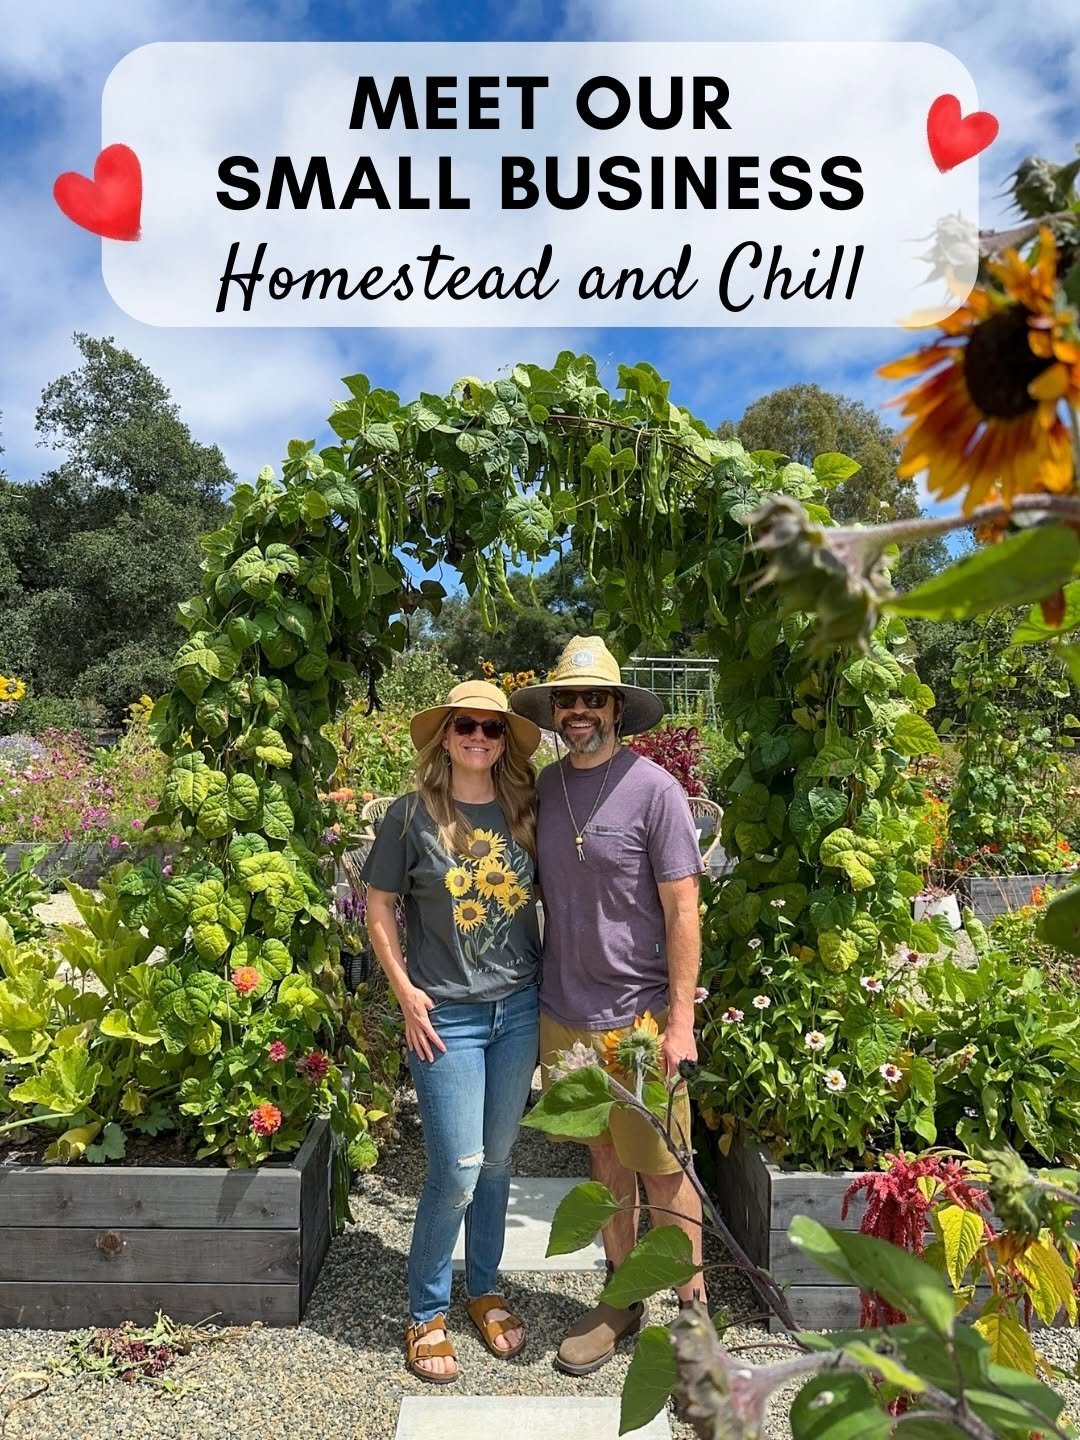
👋🏼 Happy Small Business Saturday! 💝 It was exactly 7 years ago, Thanksgiving week of 2018, that I sat down and started building the Homestead and Chill website (with absolutely *zero* idea what I was doing or what it would eventually become!) so I get especially reflective and sappy this time of year. I typically share a round-up of our garden spaces over the years, but I thought it would be fun to do something a little different and put together this carousel to share more of our story, mission, fun facts, offerings, and some garden before-and-afters of course. 😍 ⏰ When I think back over those 7 years (or even my 12 years on Instagram) SO much has changed and evolved. Our home, gardens, animals, business, social media, ourselves even… but one thing has remained constant - and that’s your unwavering support! I don’t know how to NOT sound like a cheeseball when I say our lives and journey wouldn’t be the same with you, but it’s the truth. Whether it’s visiting our website, supporting our shop, being a part of our newsletter community, or simply showing up here in camaraderie to tune in, laugh, commiserate, connect, and share ideas (or just send me cat and donkey memes 💁🏼♀️🤣) - it ALL matters, and we are so grateful! So thank you for being here. YOU are what makes our world go ‘round! 🥹🫶🏼🌎 We can’t wait to see what next year has in store 🕯️🐝😉 With love & gratitude ~ Deanna, Aaron, and the whole H&C Team 👩🏼🌾👨🏻🌾🐈🫏🐓 #smallbusiness #shopsmall #smallbusinesssaturday
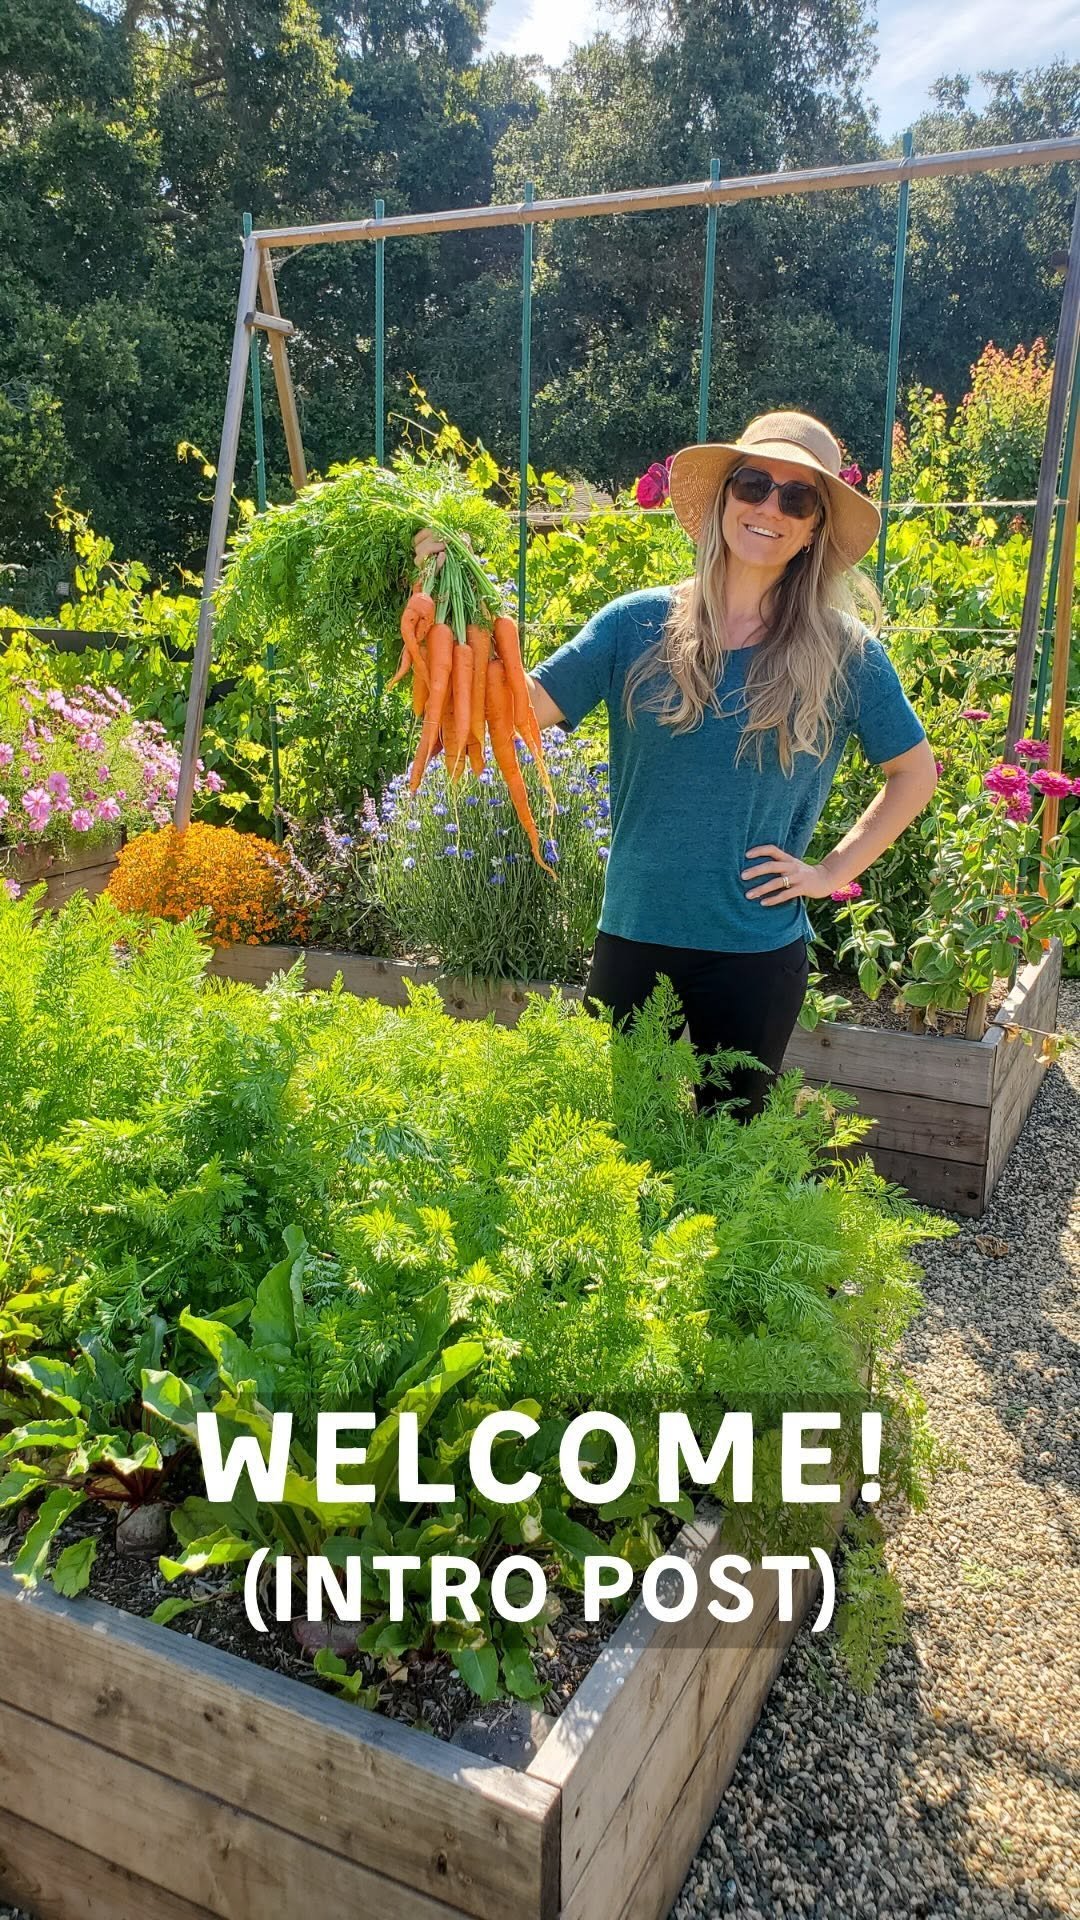
Hey, I’m Deanna 👋🏼 Here’s a little reintroduction and “about me”… but of course we’re all so much more complex and interesting than can fit into a handful of tiny words on the screen! . Like: we live on the Central Coast of California, are huge reggae lovers (among many other types of music), and enjoy long walks on the beach or a good Netflix binge to unwind. 🌊 . Aaron and I met in college (coming up on 19 years ago 🤯) working together in a small natural foods store. After college I worked for the county - starting as a restaurant inspector (oh the stories I have 🫣) and worked my way up to a senior water and land use specialist where I reviewed/inspected/permitted water systems, wastewater systems, and commercial canna🌿 operations. Aaron worked as a produce team leader at Whole Foods. Both feeling increasingly unfulfilled at work, we started our own business 5 years ago and became fully self-employed 2.5 years ago, which has been both the most rewarding and most difficult thing I’ve ever done. . I’m a Type 1/3 enneagram and a Cancer. 🦀 I struggle with anxiety, especially social anxiety, and am generally waaay too hard on myself. . All in all, I’m a work in progress ~ busy growing both in the soil and in the soul. Thanks for being here and growing along with me 💚 . . . . . . . . . #homesteadandchill #gardenlife #gardenlove #homesteading #homesteadlife #instagarden #instagardeners #gardenblogger #sustainableliving #selfsufficiency #type1diabetes #type1warrior #diabadass #countrylife #countryliving #growfood #growfoodnotlawns #healthyliving #environmentalist #selflove #childfree #growyourown #naturalhealth
🌿 13 Tips on Starting a Garden 🔥 . 1) Start Small. It’s fun to dream of a big garden overflowing with food, but the reality is, it can take some time and experience to get there. Taking on too much before you learn the basics or get a feel for your yard/climate/pests can get overwhelming fast. . 2) Pick the sunniest location possible. Consider how the sun/shade will change with the seasons. If you live in the northern hemisphere, a south-facing location is ideal (one that gets maximum sun exposure from the south, including when it’s lower on the horizon in late fall to early spring). . 3) Decide if you want raised beds, containers or in-ground gardening - or try a variety of methods! We prefer raised beds since gophers make in-ground growing nearly impossible here. I also love the ergonomis, aesthetics, ability to block out pests, and fill them with quality soil and compost. . 4) Invest in your soil. Soil health is KEY! Focus on feeding the soil rather than feeding plants. Compost, mulch, and mild slow-release organic fertilizers are your friends. . 5) Plant what you like to eat. Start with a handful of common veggies and go from there. My very first garden had cherry tomatoes, squash, basil, and honeydew. . 6) Not ready to start from seed? Go pick up some seedlings from a local nursery. There is no shame in that game! . 7) Give plants deep, even, consistent water. They like routine. . 8) Don’t forget the pollinators! Grow a few pollen and nectar-rich flowers for our pollinator friends too. . 9) Think about wildlife. If squirrels, deer, rabbits, or other critters may nibble your plants, consider fencing, nets, hoops and row covers, or other ways to protect them. . 10) Keep it organic; don’t worry about a few bugs! If nothing is eating your garden, your garden isn’t part of the ecosystem. . 11) Perfection is not the goal. HAVE FUN! . 12) There’s always next year! . 13) Come visit us on Homesteadandchill.com for TONS of tips, grow guides, recipes and more! Subscribe to our free weekly newsletter, and you'll get a FREE 21-page garden planning toolkit w/ a companion planting chart, plot plans, and seed starting/planting calendars for EVERY zone! 🙌🥳 Link in bio
📣Roll call! 🌎 Where do YOU use Bug Off Balm - either traveling or at home? I always love to hear all the fun and different places it’s gone, and feel so honored to “come along” and help make your adventures more comfortable and enjoyable 💚 🎉 If you missed our SALE, you can still save 10% off our whole shop with code “welcome”! 🔗 in bio Our 5-star Bug Off Balm is a natural, non-toxic insect repellent that really WORKS. The packable tins are perfect for travel, hiking, camping, gardening, kids camp, sporting events or any other outdoor activities - and makes a great gift for active nature lovers! It’s made with all organic ingredients that offer a gentle, pleasant aroma and leaves your skin feeling soft and moisturized, not sticky or greasy. No need to wash it off later, and a little goes a long way 🙌🏽 Thank you so much for supporting our small business! 🥰
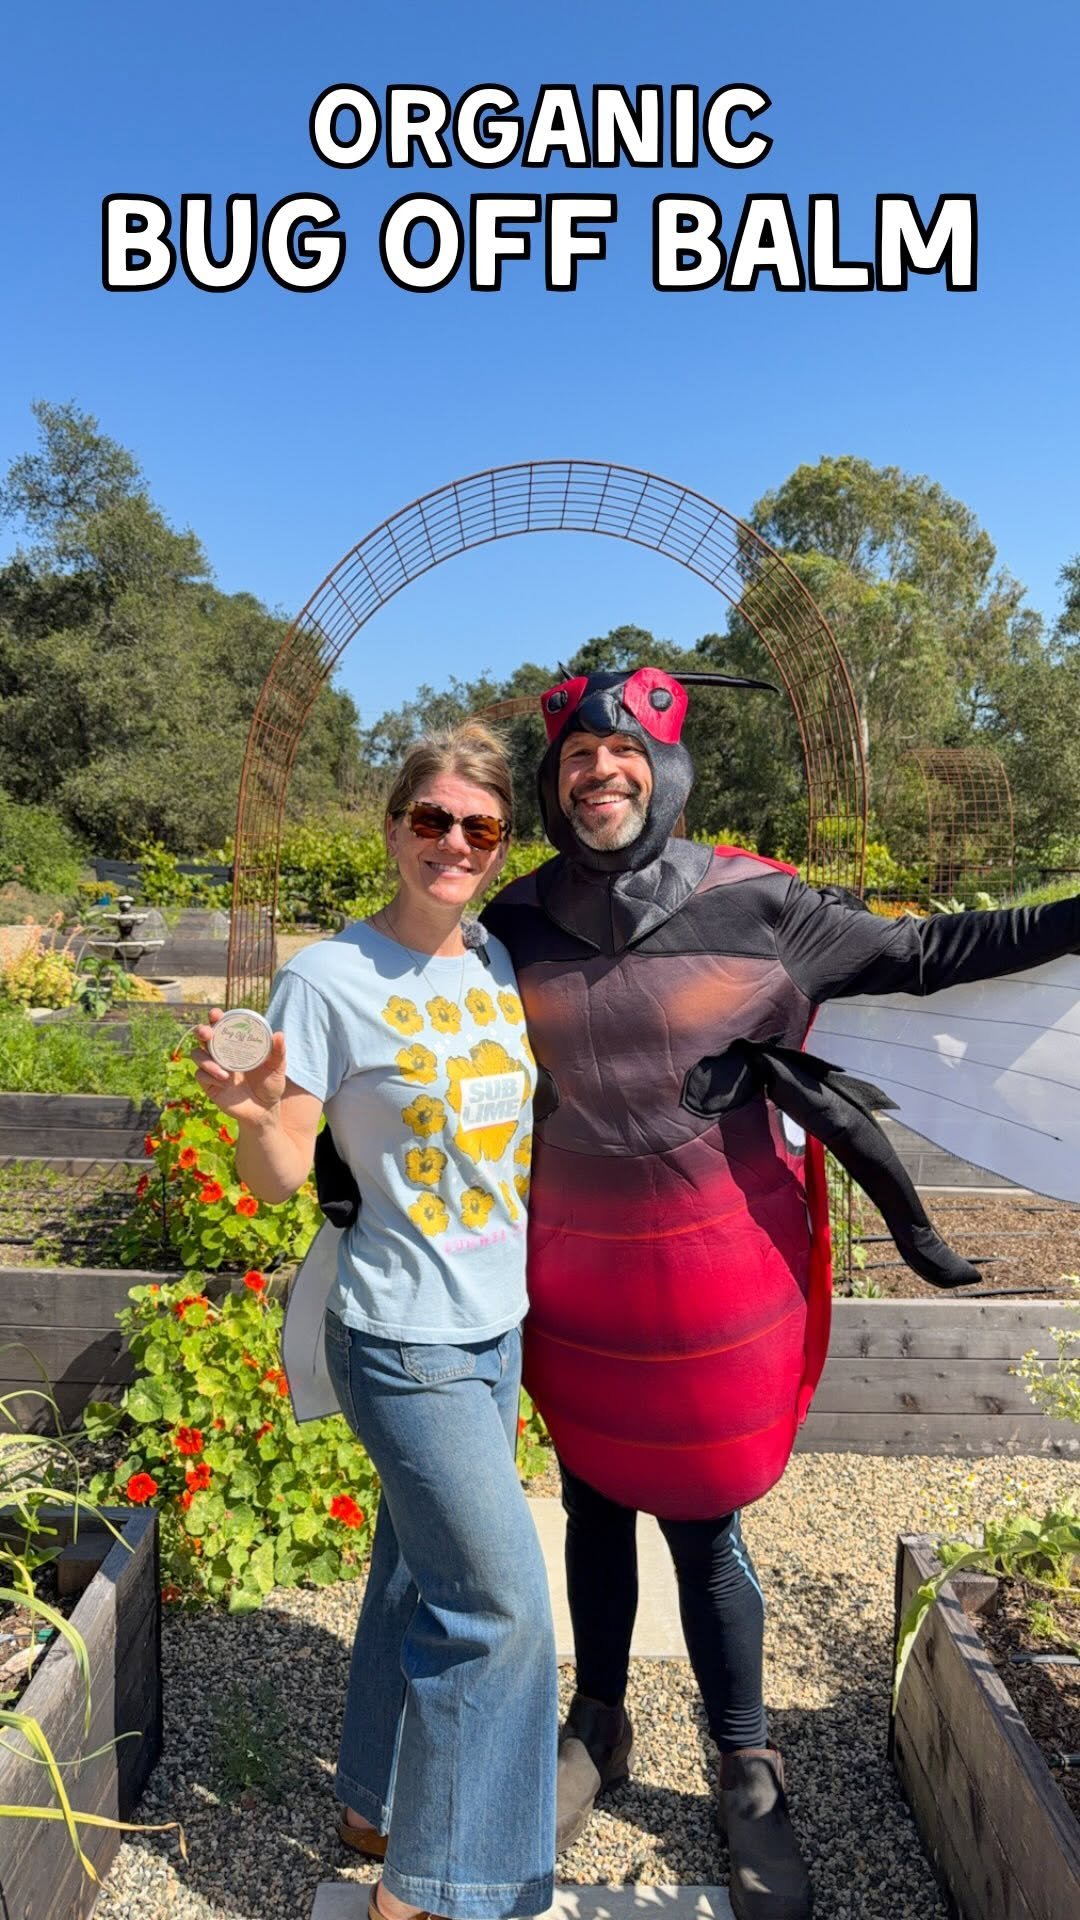
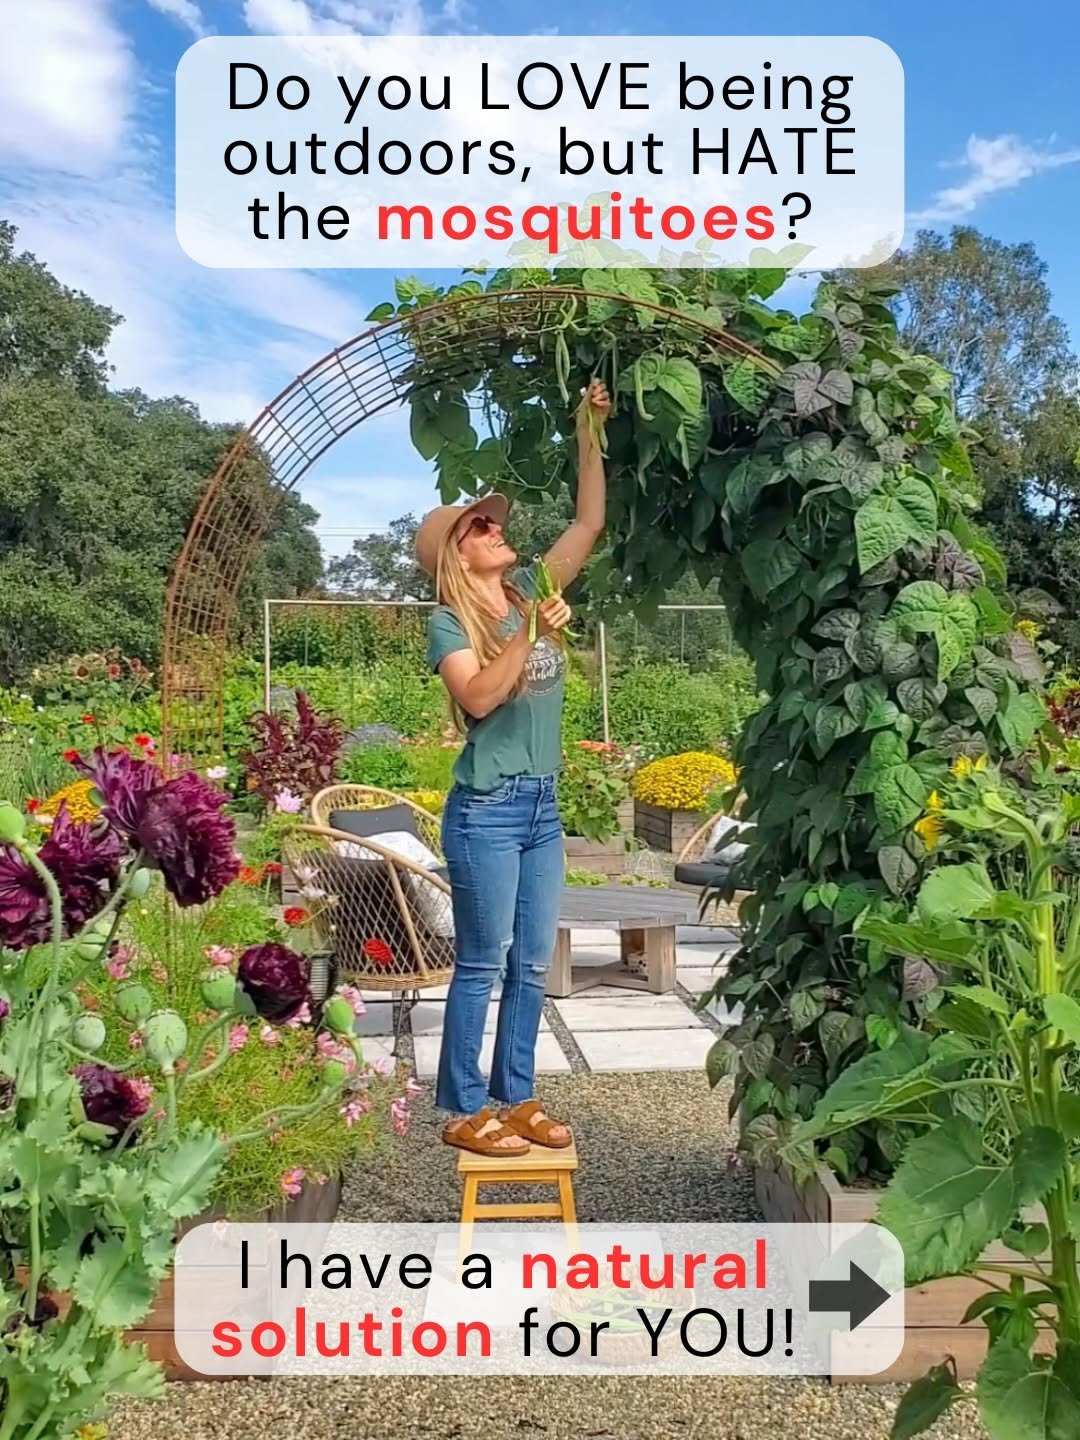
Are you a mosquito-magnet too? 🦟 Then you need our Organic Bug Off Balm ~ a gentle, all natural insect repellent that actually WORKS! (Really, read the reviews 🌟) Plus it leaves your skin soft and moisturized, not greasy or sticky. No need to wash it off later 🙌🏽 🎉 Don’t miss our annual sale - currently 15% off! Comment “bugoff” and I’ll send you the 🔗 Send this to your favorite outdoor adventure buddy that may need it too! The packable tins are perfect for travel, hiking, camping, gardening, kids camp, sporting events and more ✅ Have you tried it yet? Please let us know what you think, and thank you SO much for your support! ❤️ Too bad we had zero fun filming this 🤷🏼♀️🤣 #mosquitos #naturalskincare #organicskincare #getoutside #outdooradventure
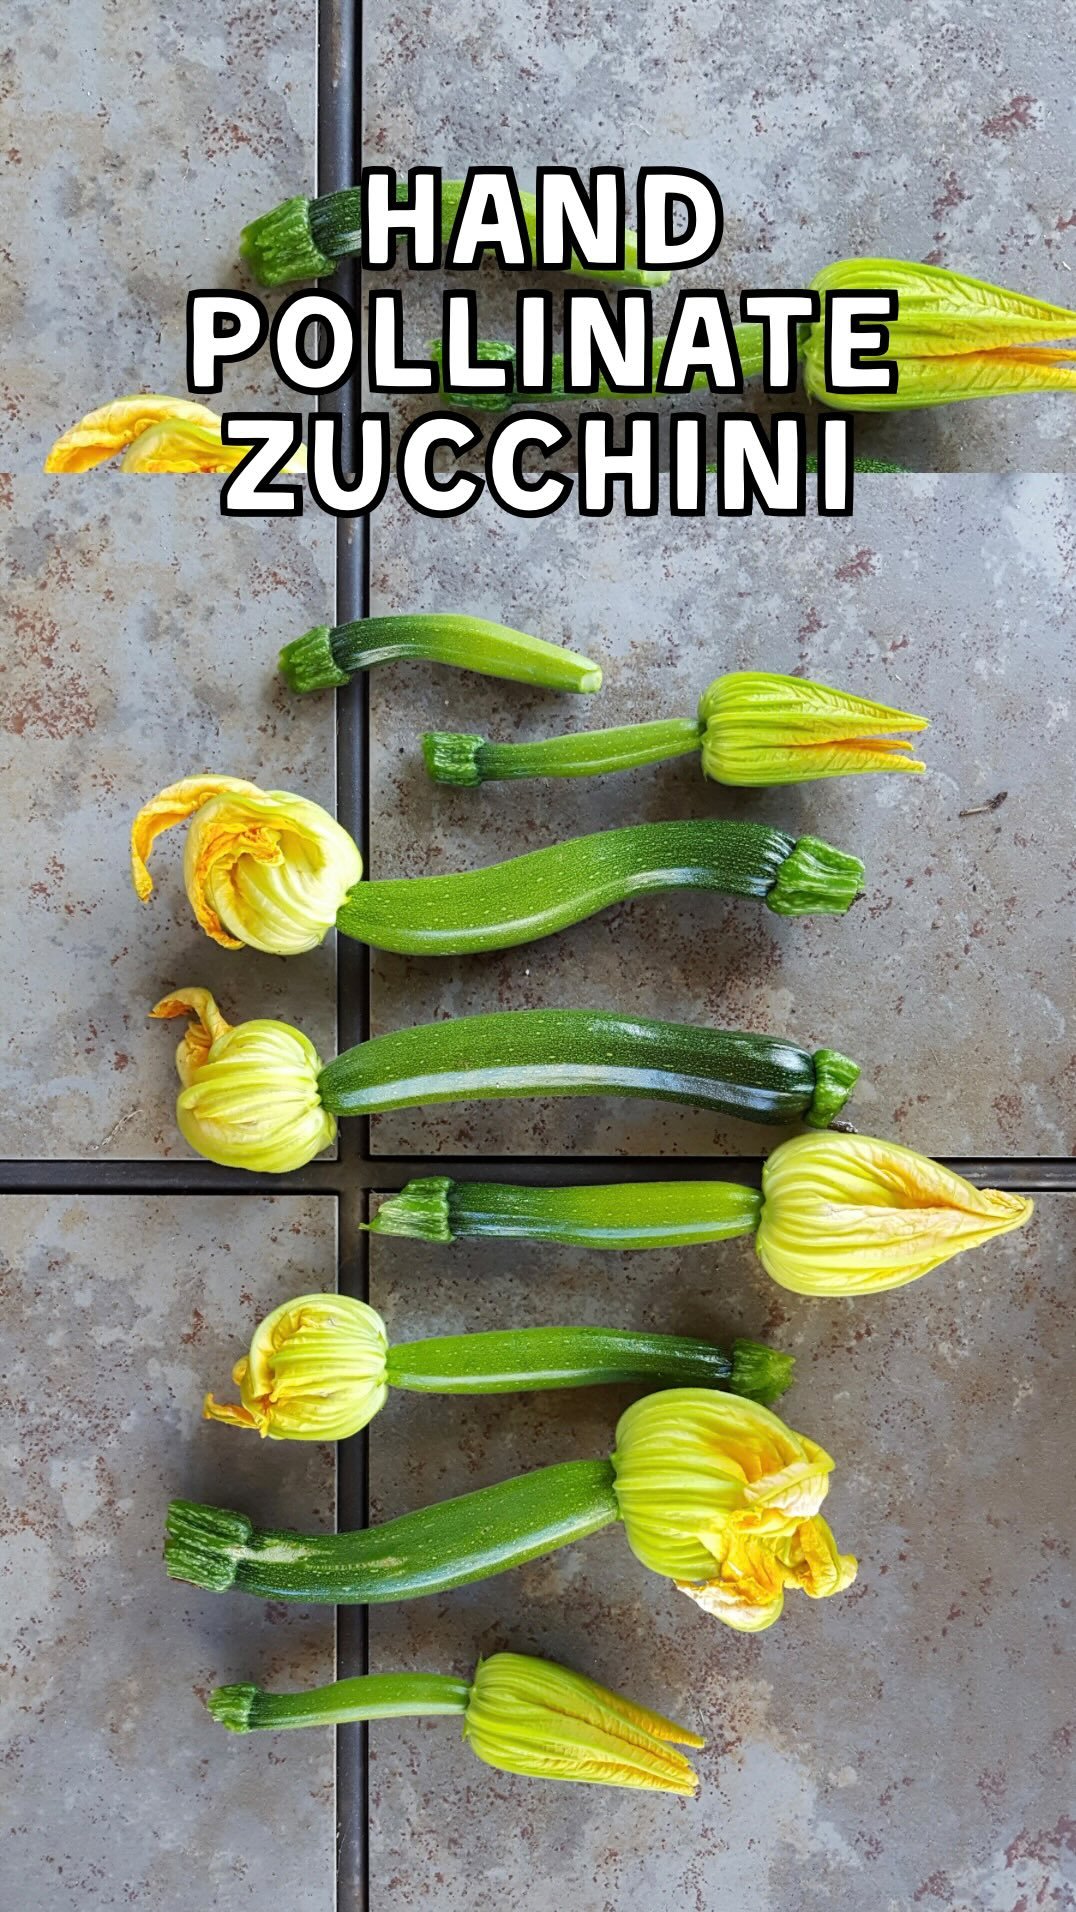
Hand-diddlin’ squash 👋🏻🥒🤓 Do your zucchini ever start to grow, but then go limp, shrivel up, and rot from the blossom end? The flower wasn’t pollinated, but there’s an easy fix! Just get in there and give them a hand 😉 These tips apply to summer squash, winter squash (including pumpkins), melons and cucumbers!👇🏼 . 🌿 Many squash plants put off only female flowers or only male flowers at the start of the season. Be patient, they’ll usually start offering both within a few weeks. This is one reason we always grow several squash plants, to increase our odds. 🌞 The best time to hand pollinate is in the morning, since flowers usually open then but close by the afternoon. One time is enough! ⏰️ If the right pair of male/female flowers isn’t available one day, you can gently peel open spent flowers that have already bloomed to pollinate them later (within a day or two after they first opened). 🎨 You can hand pollinate squash with a Qtip, a small paintbrush (my preferred method), or pluck off the male flower, peel back it’s petals, and rub it directly on the female. I don’t do that because the flowers usually open again a second or third time, so I may need to use the male again! Plus, leaving it on the plant means leaving it for the bees 🐝 (and a paintbrush is way more fun). ❓️Try to keep it in the family, but if needed, you can use one type of summer squash/zucchini to pollinate another variety (e.g. green zucchini to yellow crookneck). Or, various types of hard winter squash to pollinate eachother (e.g. butternut to spaghetti squash). Yes, cross-pollination will occur so seed-saving won’t be possible (the next generation won’t match the parent plant)...but bees will naturally cross pollinate between different squash in your garden anyway 🤷🏼♀️ Save + share if this was helpful! . . . . . . . #gardeningtips #homesteading #growfood #gardenlife #farmlife
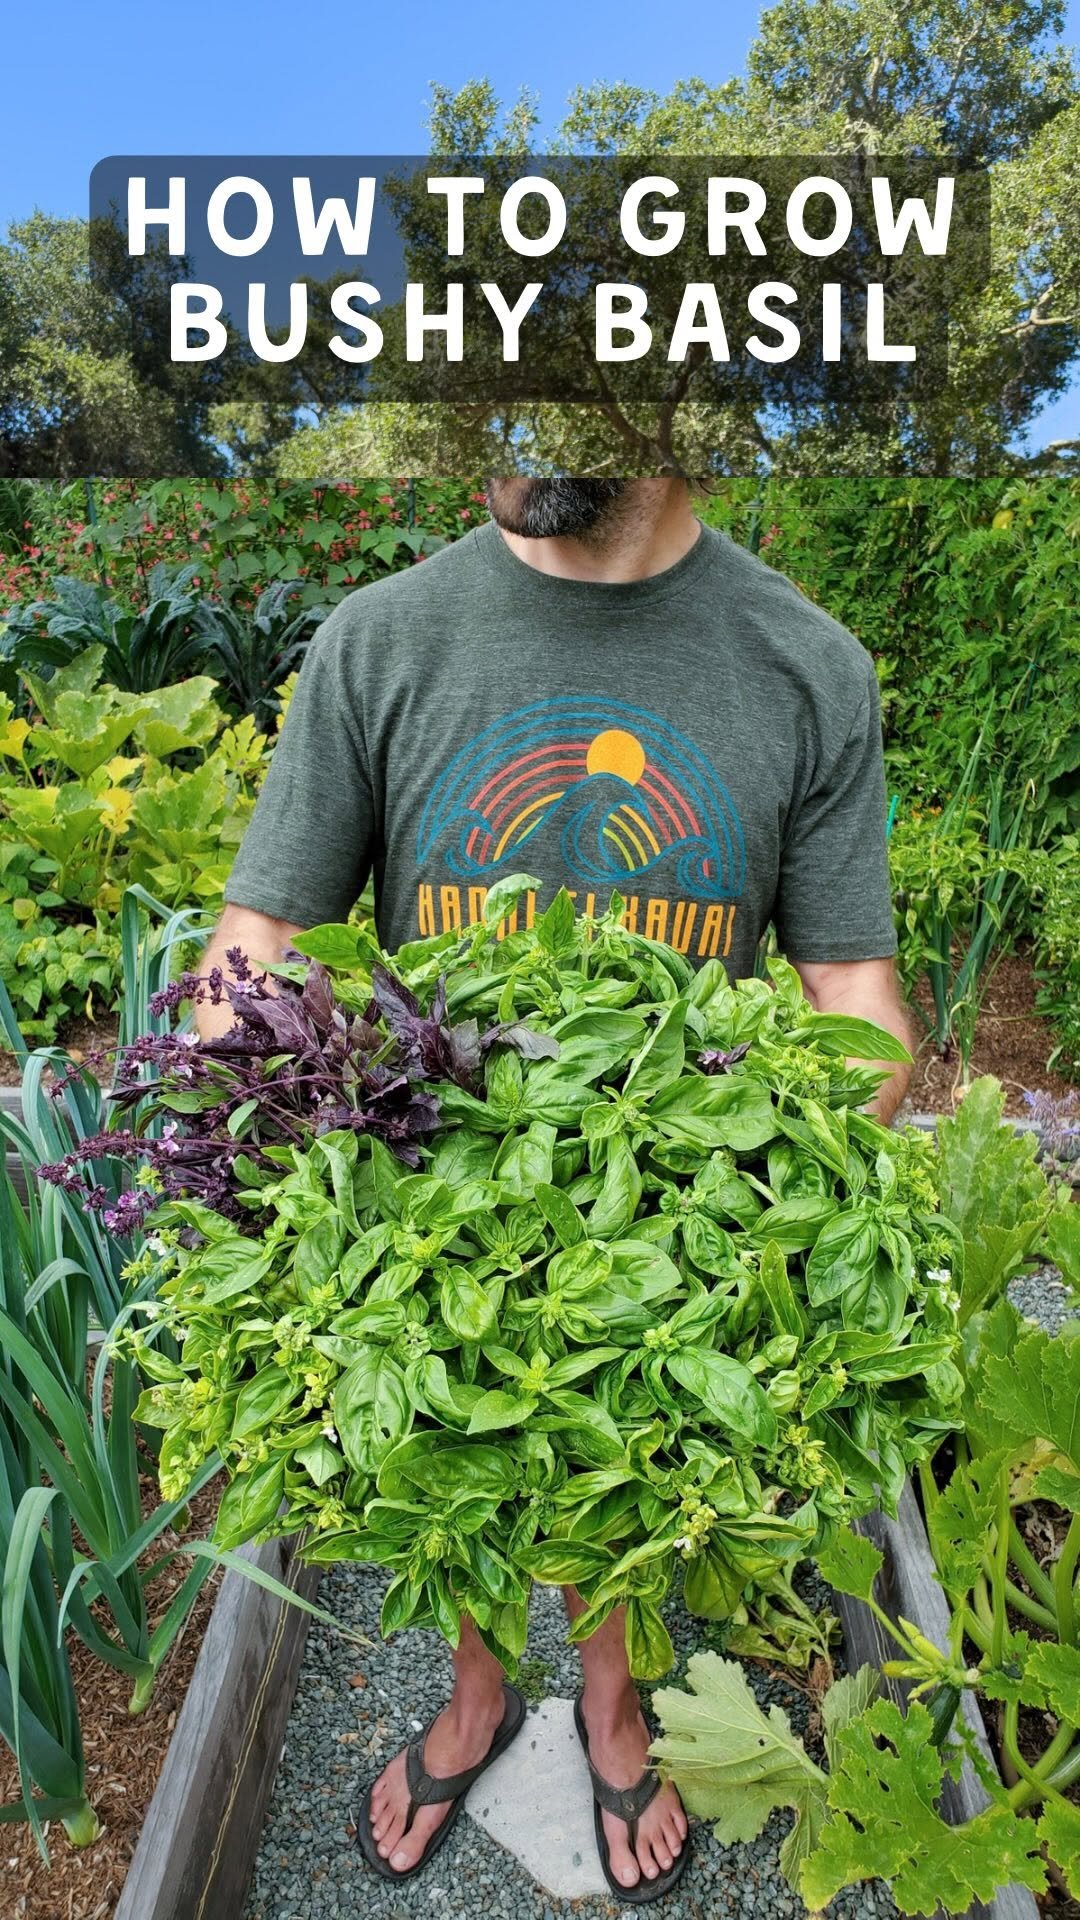
✂️ Here’s your annual reminder to pinch your basil plants! The more you prune and harvest basil, the more branches and bushy it will grow - meaning the more fresh basil you can harvest and enjoy all summer long! Don’t simply pluck individual leaves off. That won’t promote new growth and will just make it get woody faster. Always cut a stem just above a leaf node, where two new long branches will then form. To propagate new plants in water, use cut stems that are at least 5-7” long. Strip the leaves from the lower 1/2 of the stems, place them in a glass of water in a spot with bright ambient light but not in direct sun (kitchen counter is great), and change the water every few days. They should grow new roots within a couple weeks! Later during the season (once the plants get much larger), I like to harvest/cut some stems deep within the plant and some more towards the middle or top to encourage branching all over 👍🏼 You can cut just a few stems as needed for a meal, or cut the whole plant way back (but leave at least 1/3 of it behind) to harvest a lot of basil at once. We like to do that to when we make pesto or basil cubes to freeze, or to dry the leaves to preserve. I hope this is helpful! Let me know if you have any questions, and happy basil growing 🌱 #gardening #gardentips #homesteading #gardenlife #growyourown
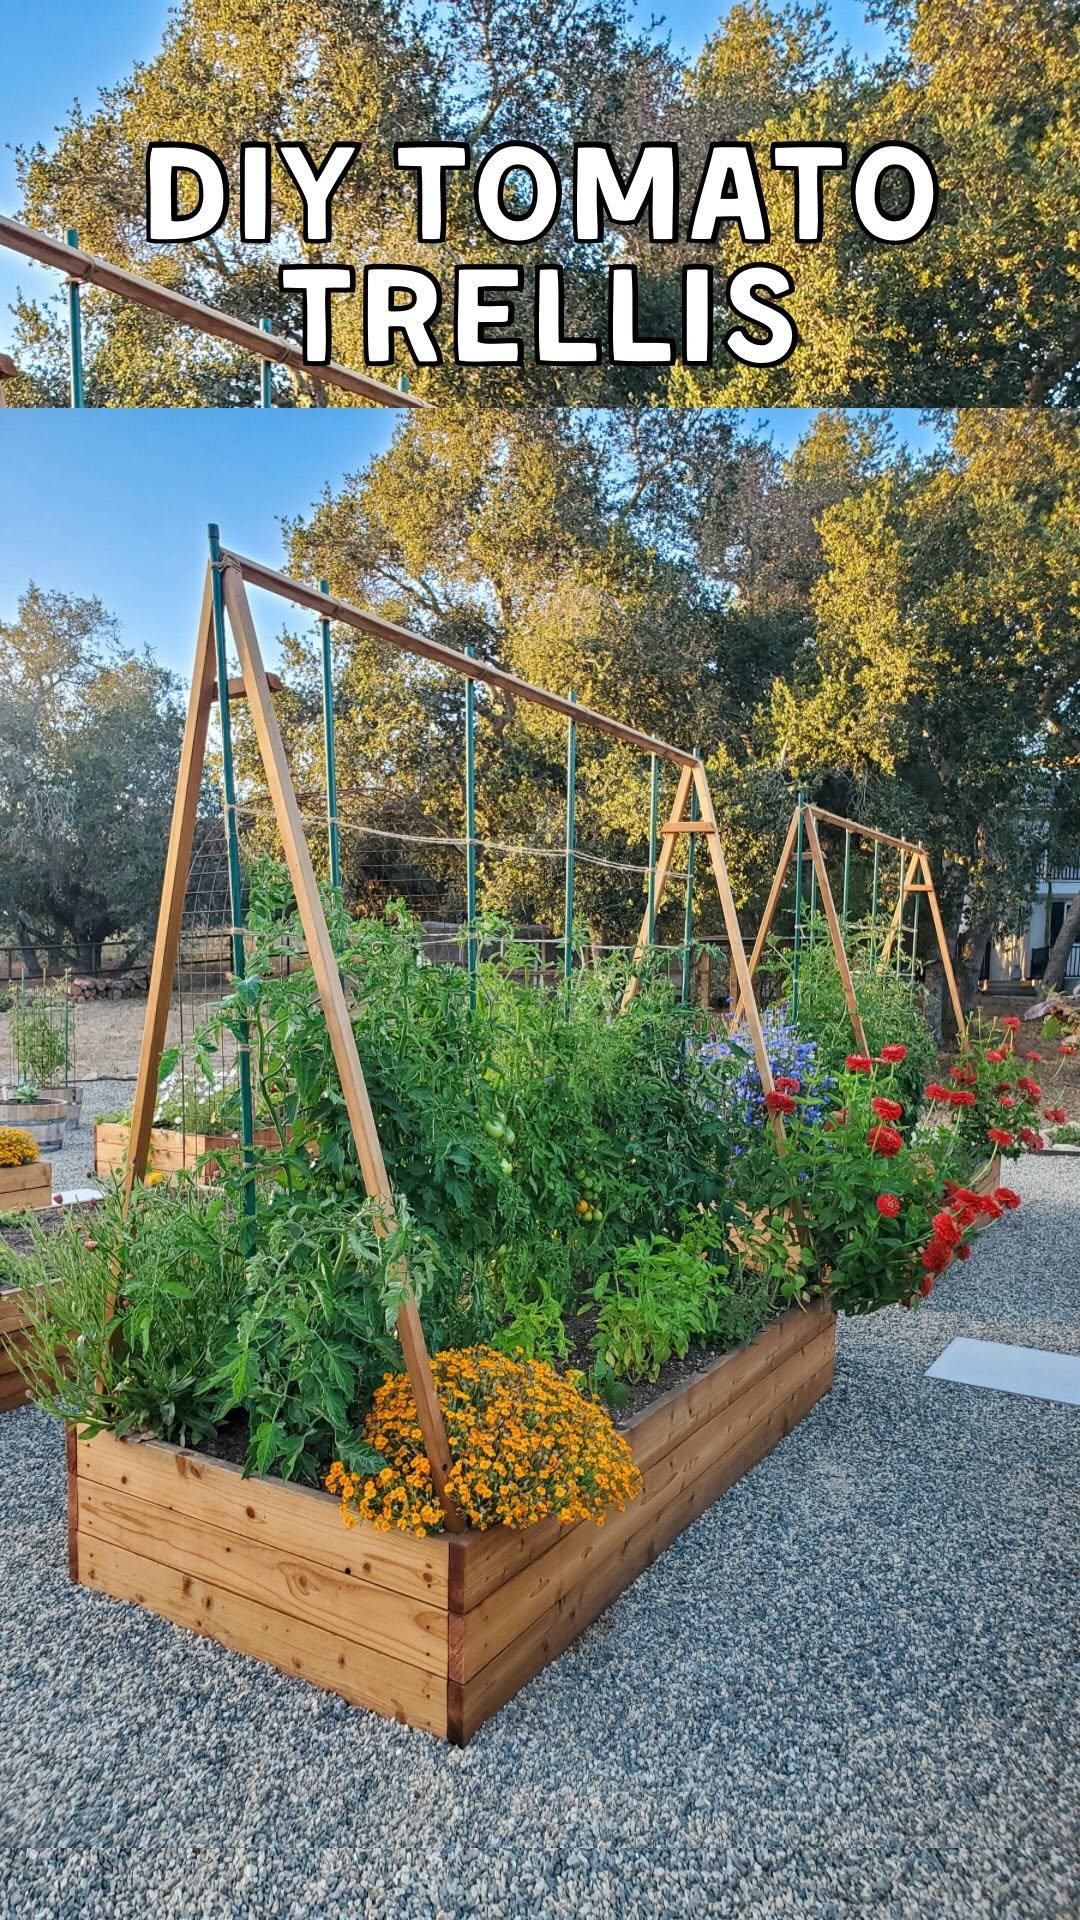
🍅 I love our trusty DIY tomato trellises! Comment TRELLIS and I’ll send you our easy step-by-step guide and video on how to make your own. The tutorial also walks you through how to prune and train tomatoes up a trellis like this. 👍🏼 We’ve been using this system for over 5 years now (it’s like a combination of the Florida weave + single stake method), and I can’t imagine growing any other way now! It’s pretty, tidy, easy to see and harvest fruit, increases airflow = less disease pressure, and leaves plenty of space for tomato companion plants like basil, marigolds, bush beans, and others in the bed 🌼 It’s been so fun to see some of you using this system in your own gardens now too 💚 Wishing you a terrific tomato season! #gardentips #homesteading #growyourown #gardenlife #instagarden
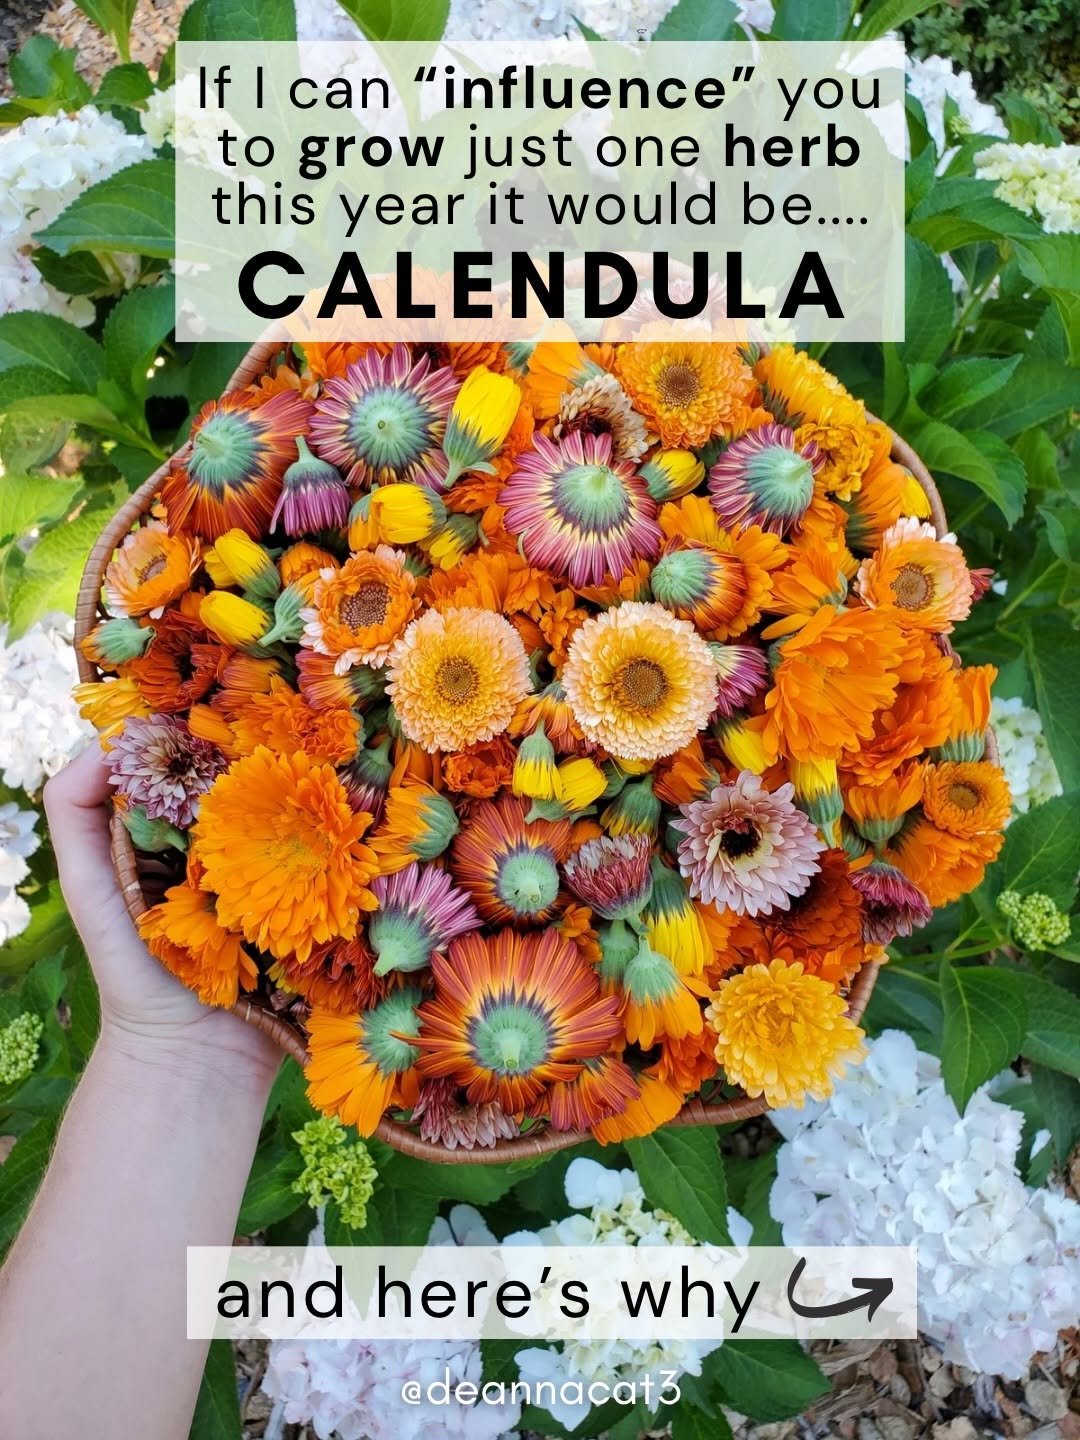
🌼 Are you growing calendula this year? If not, please do! It’s no secret that calendula is my favorite herb and companion plant. I mean, what’s not to love? It’s beautiful, easy to grow (including in containers), medicinal, edible, attracts pollinators and other beneficial insects - and is the key ingredient in all our most soothing skincare offerings including salves, face oil and lotion. It works some serious magic on irritated or unhappy skin! ✨ . 🤓 Reply “guide” and I’ll send you my free calendula guide that’s full of tips on how to grow, harvest, dry and use it, including step-by-step DIY skincare recipes, and a list of our favorite varieties to grow. I love adding cheerful calendula petals to summer salads, iced tea, mocktails, spring rolls and more. Even better: the more flowers you pick, the more will grow! . 🧡 Or comment “skincare” if you’re interested in browsing our organic skincare line - made with SO much love and care, right from our garden. Our goodies have helped thousands of people with eczema, stubborn rashes, inflammation, scars, psoriasis, dermatitis, burns (including sunburn and radiation burn) and more. And it’s 100000% the most rewarding part of my work: helping people feel more comfortable and confident in their skin 🥹❤️
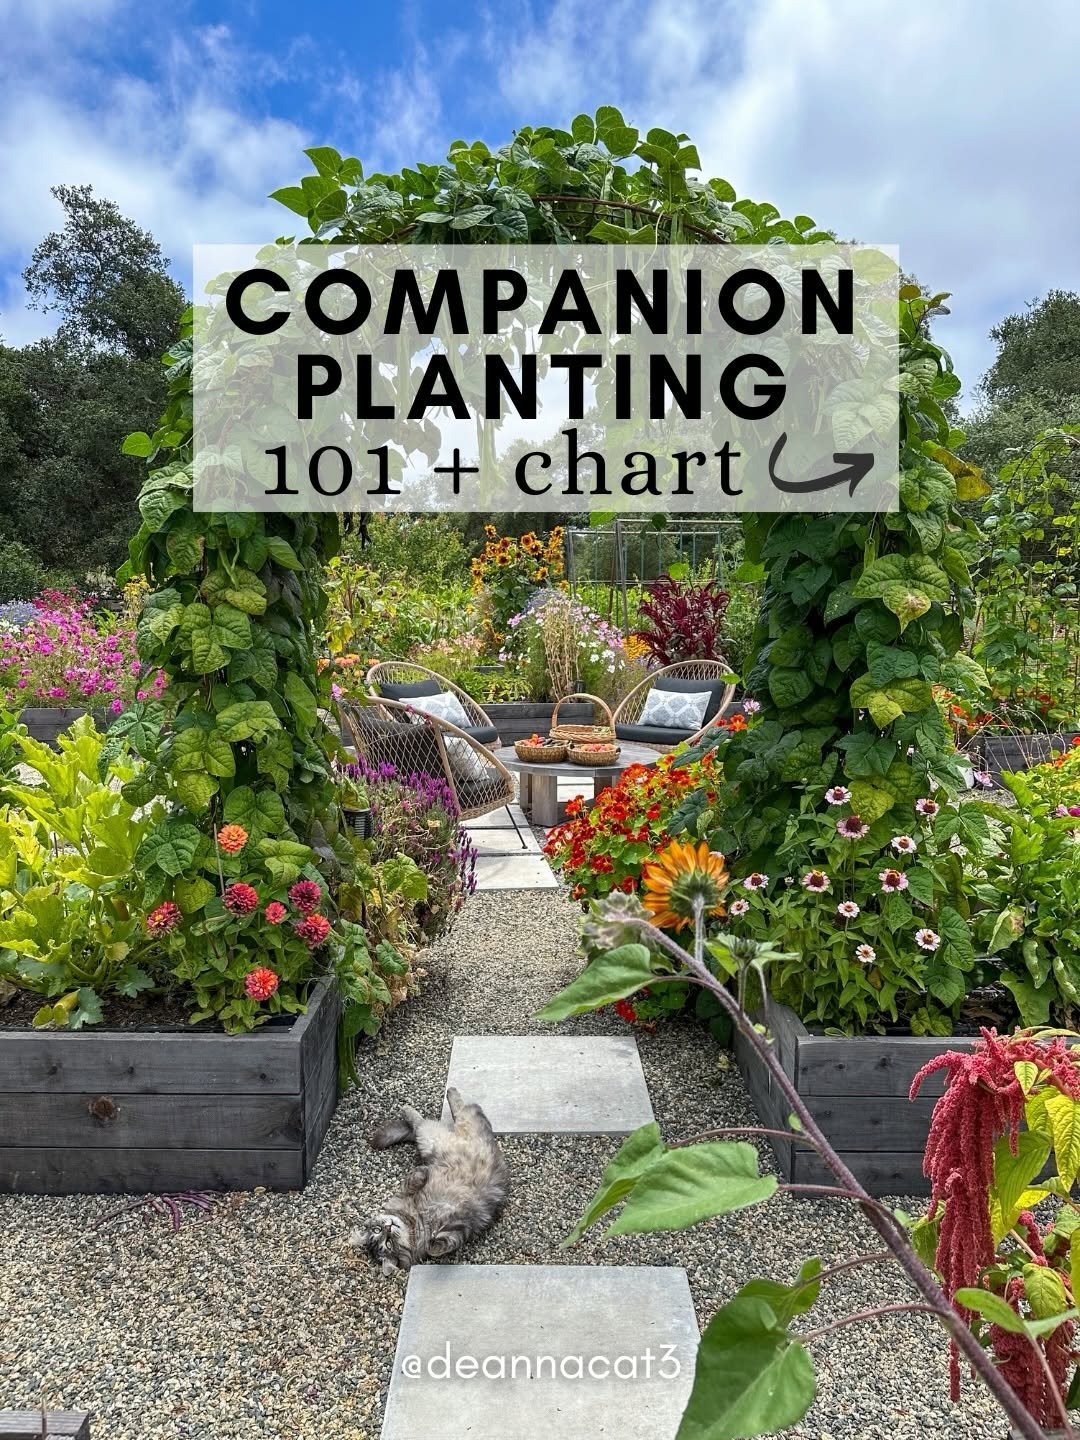
Want to grow a more beautiful, productive, sustainable garden?! 🌻 Comment “chart” and I’ll send you my free companion planting 101 guide along with a handy printable chart! 💚 Do you practice companion planting yet? It’s the idea that growing two (or more) crops near one another may help each other in nutrient uptake, improved pest management and reduced pesticide use, enhanced pollination and higher yields - naturally! 🧐 Will companion planting solve ALL your pest issues? Nope, I’m afraid not. But will it bring tons of pollinators, biodiversity and beauty to your garden? Heck yes 💯🙌🏽 And will your plants unalive themselves if you accidentally plant the “wrong” things together? No. They may not be quite as happy, but don’t fret about the “foes” too much, especially if you have limited garden space. The Native American “three sisters” combo of corn, squash and beans is a prime example of companion planting. Similarly, we always plant basil and marigolds at the base of our tomatoes. The marigold roots repel root-knot nematodes (a common tomato pest) while the tomatoes provide dappled partial shade that the basil likes to thrive. Basil can also repel pests like hornworms, aphids, and whitefly - and supposedly growing basil nearby makes the tomatoes taste better too! 💁🏼♀️ I also love to tuck tons of annual flowers and herbs among all the veggie beds including cosmos, zinnia, cornflower, calendula, and more 🌸 💖 Save this post and keep these planting combos in mind when you’re planning your spring garden layout! 👍🏼 . . . . . #growfood #gardening #gardentips #homesteading #companionplanting
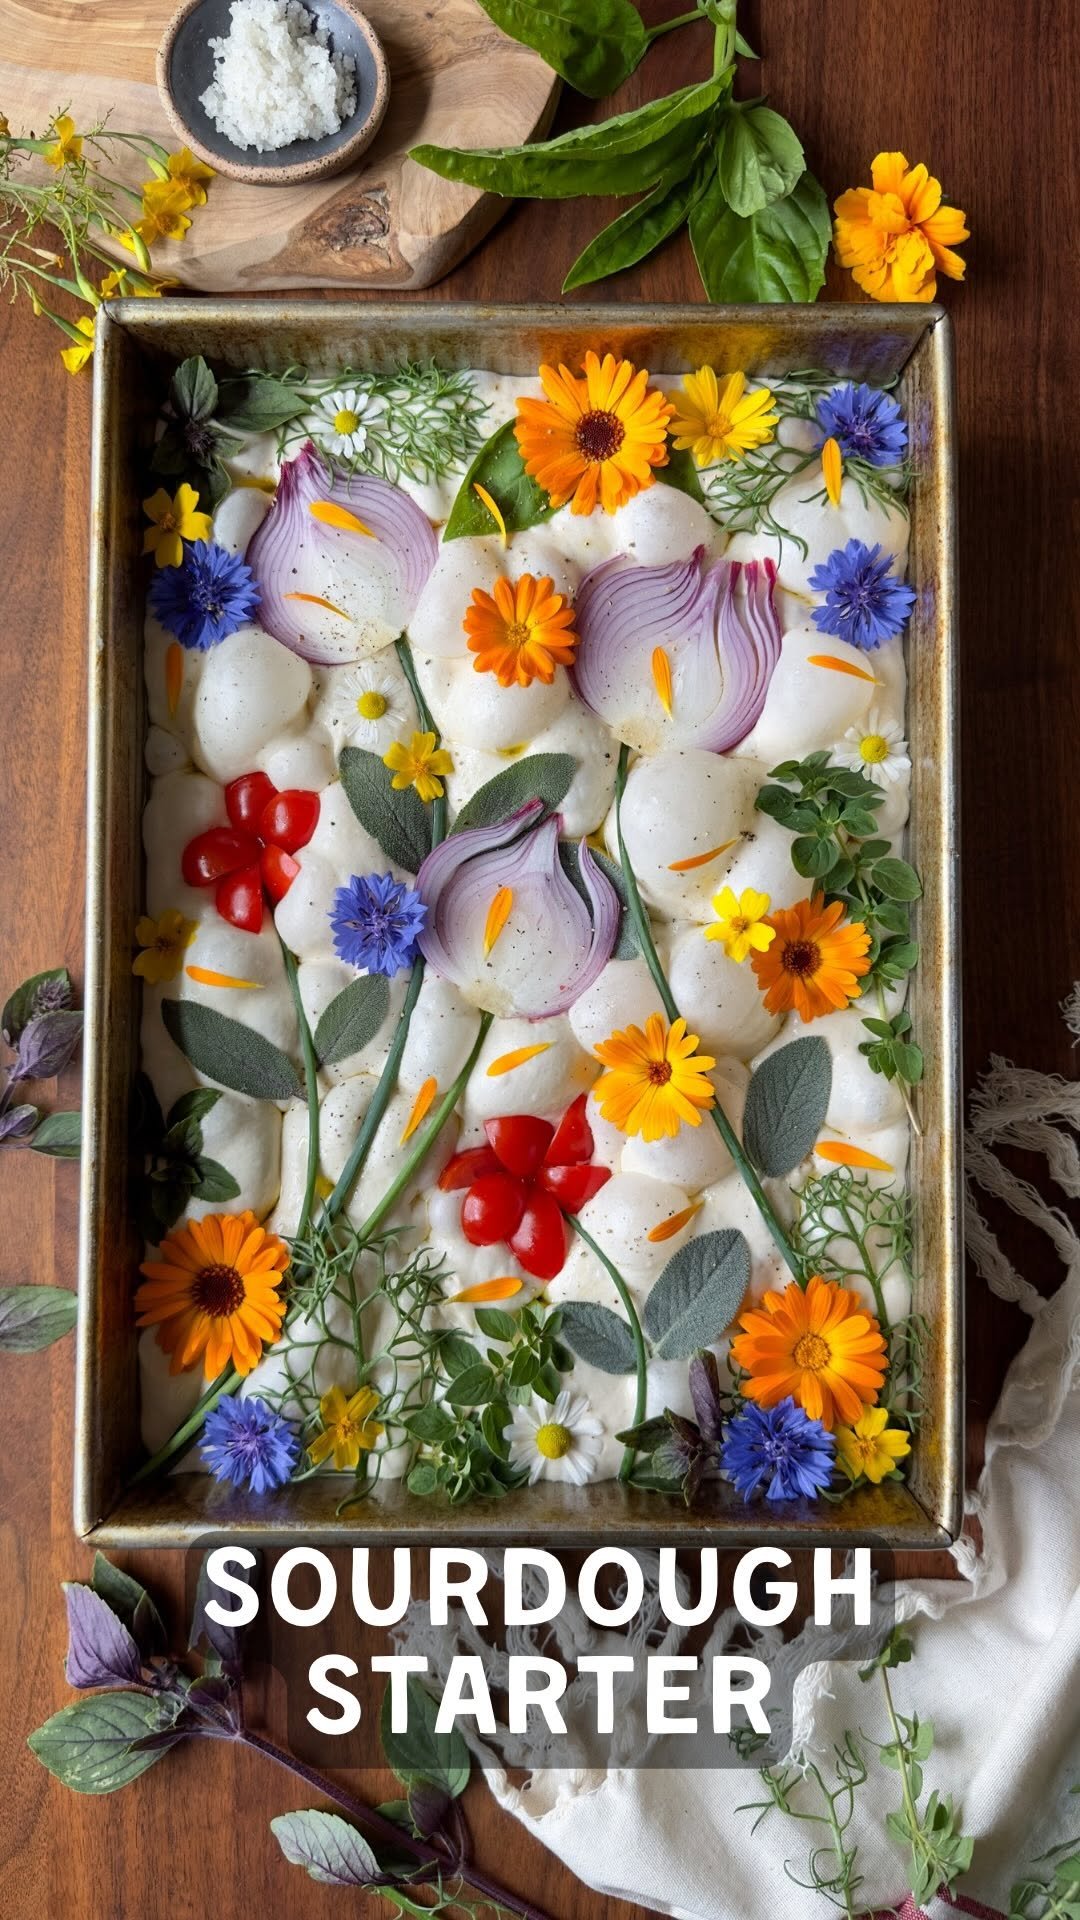
🍞 The easiest way to start baking sourdough! Our 5-star organic sourdough starter is quick to reactivate, easy to maintain, super active and bubbly, and will have you baking delicious gut-healthy bread in no time! (Try this is you’ve ever struggled with lackluster, sluggish starter) 🍕 It comes with easy step-by-step instructions and our most popular recipes - including simple no-knead sourdough bread, focaccia, crackers, granola, cookies, pizza crust, cornbread and more. ✅ If you’re new to sourdough, don’t be nervous! It’s much easier (and way more fun) than you likely imagine. You can ignore it for months in the fridge and it will perk right up again! One starter can last a lifetime of baking. 💝 Use WELCOME to save 10% off your first order (🔗 in bio, or comment “welcome” and I’ll send it to you) 🙌🏽 Come get yours and see what thousands of happy bakers are raving about! Thank you for supporting our small business 🥰
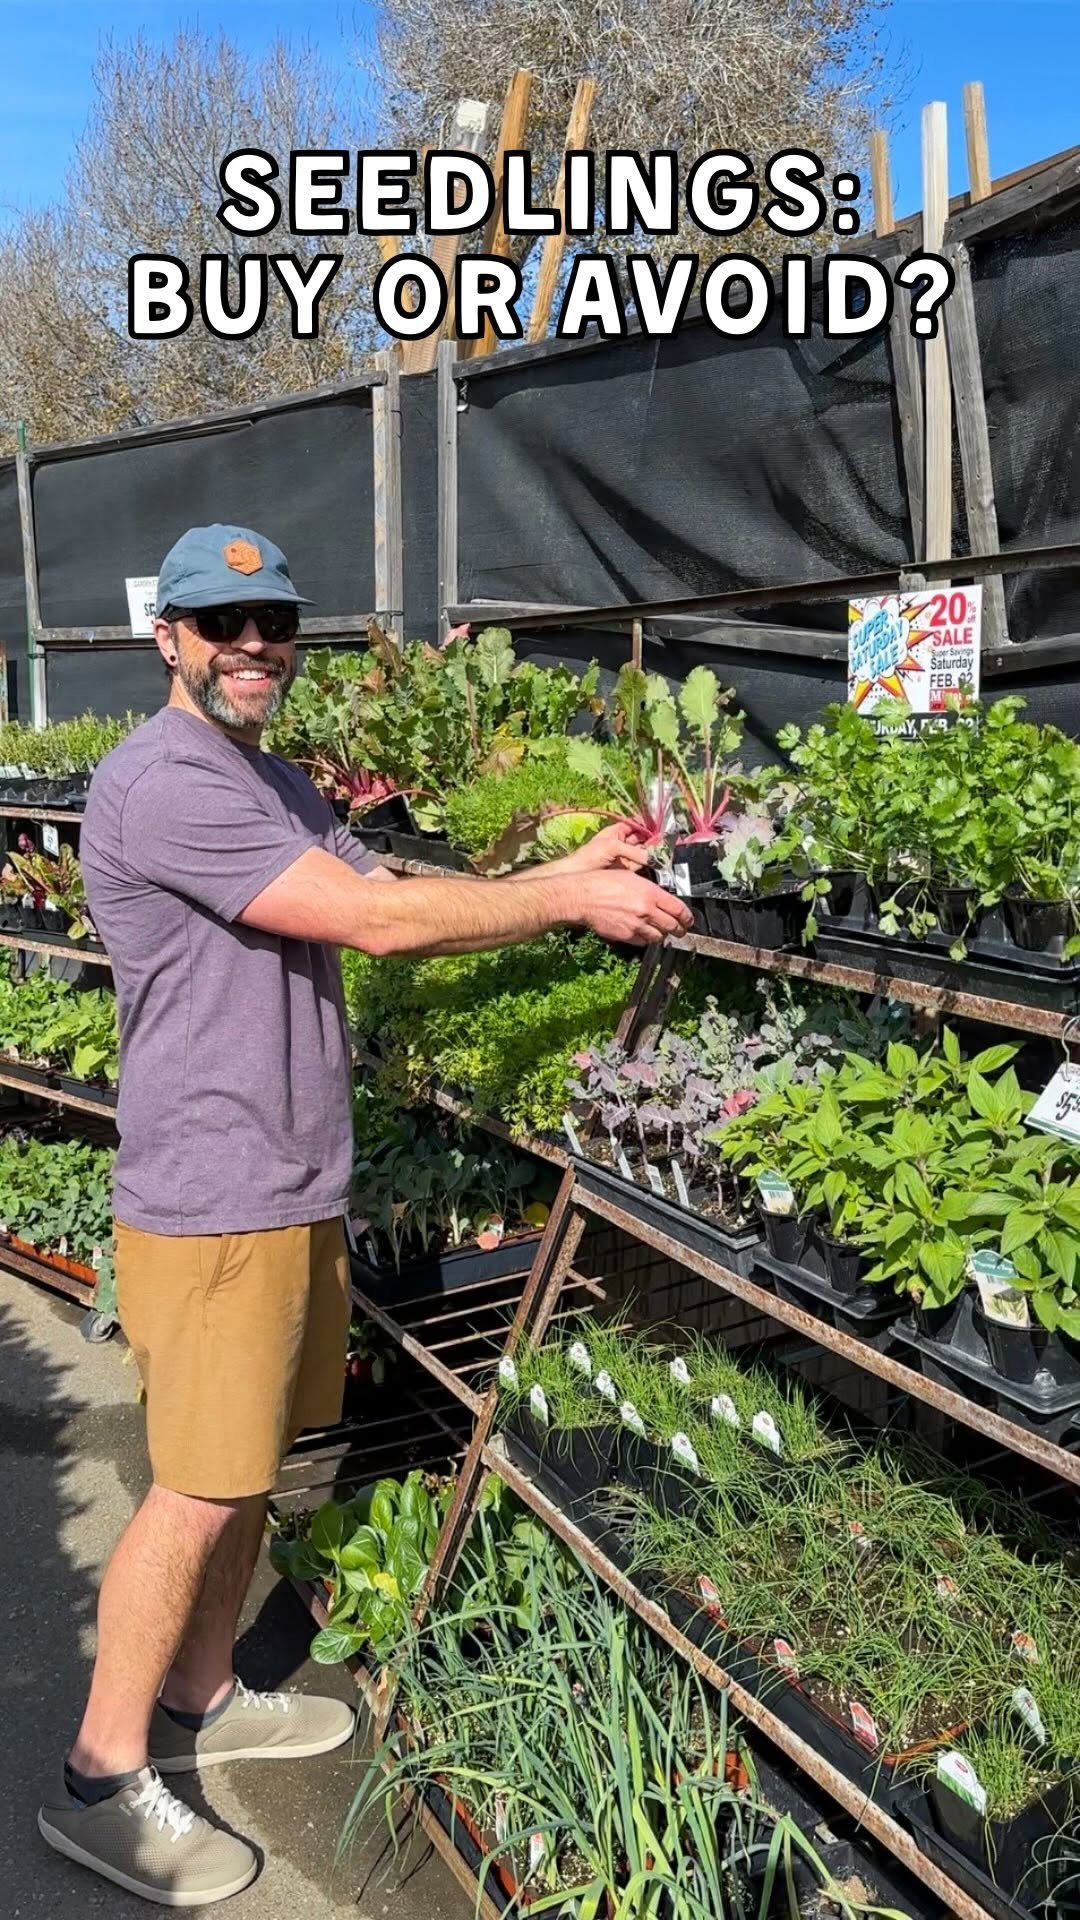
✅ How to pick the best seedlings, and what to avoid! ❌ I get so irritated when I see nurseries selling bolted, stunted, rootbound, diseased, or otherwise ridiculous seedlings. It’s just setting folks up for frustration and failure. New gardeners may plant them, feel like they did something wrong, avoid that crop next time, or even worse, want to give up gardening altogether! 😭 Hopefully these tips will help: 🌱 Bigger isn’t always better. Choose the most short, stocky, tender, young, bright green and healthy-looking seedlings instead. Large, overly-mature seedlings are more likely to be stressed, root bound or permanently stunted… even after they’re planted in your garden! 🍅 Avoid woody, tough, bolting seedlings - or those forming heads, fruit, or flowers when they’re still small. The plants should be focusing their energy on growing larger first, and fruiting/flowering later! 🥕 Root veggies like beets, carrots, and radishes don’t like to be transplanted, so they’re best to plant from seed (and so much cheaper!). Peas and beans also grow best when directly sown outside. Focus on buying things like tomatoes, peppers, leafy greens, herbs, eggplant, broccoli, onions or flowers instead. 👯♀️ Crowded seedlings? If several seedlings are growing together, you MAY be able to gently separate them to get more free plants - but only if they’re still quite small and have just a few clumped together. The larger and more crowded they are, the more likely it is to cause root damage or stunting when you try to separate them. However, clusters of onions and leeks are perfect to gently tease apart. 😷 Avoid seedlings with obvious signs of stress, disease, or pests. If you found this useful, please share to help others too! Happy spring plant shopping 💚 #growfood #homesteading #gardentips #gardening #growyourownfood